Mini Strawberry Cheesecake Jars
Highlighted under: Weekend Baking Recipes
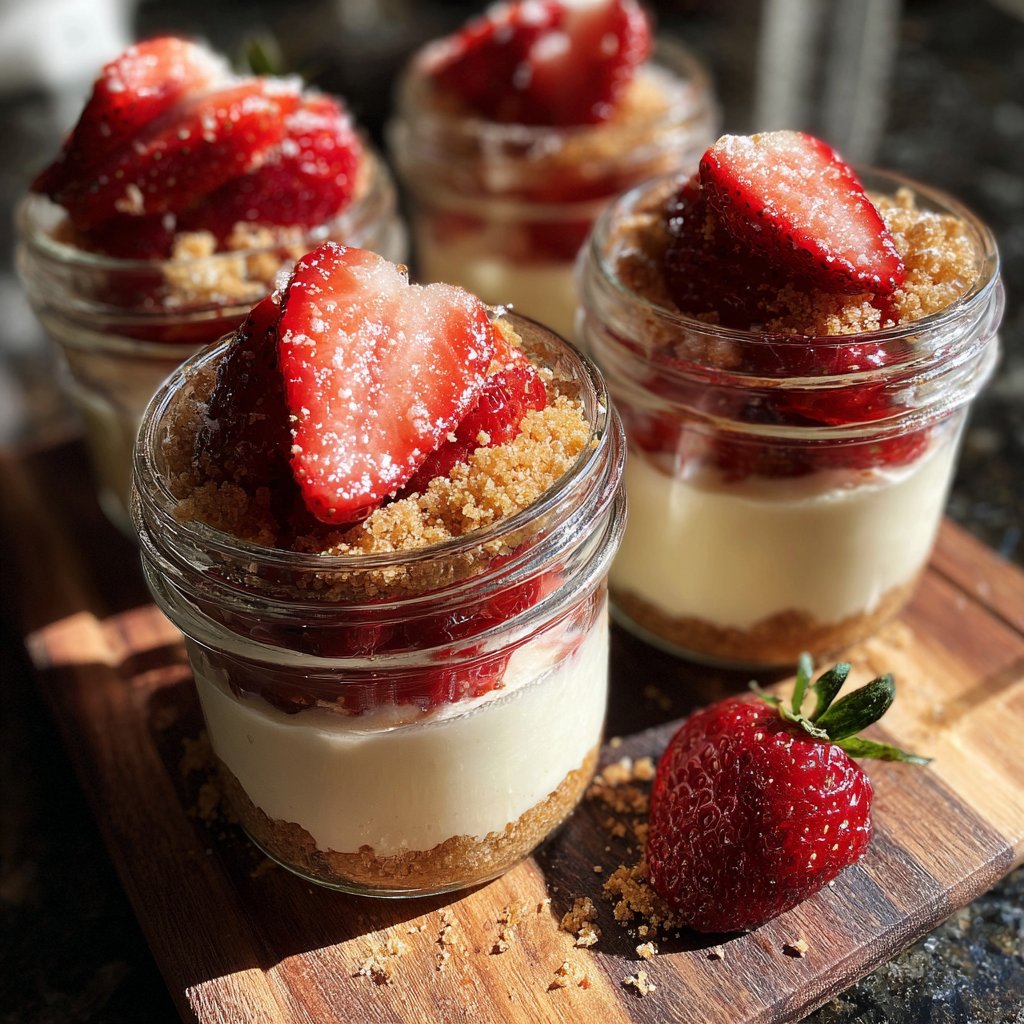
I absolutely love making Mini Strawberry Cheesecake Jars because they encapsulate everything I adore about dessert: creamy, sweet, and a delightful burst of fruity flavor. These individual servings are perfect for gatherings, and the no-bake aspect makes them a breeze to whip up. What I love most is the contrast between the rich cheesecake filling and the fresh strawberries on top. It’s a treat that feels fancy yet is so simple to create at home in just under an hour. Trust me, once you try these, you'll be hooked!
When I first made these Mini Strawberry Cheesecake Jars, I was amazed at how easy and delicious they turned out. The key is to use quality cream cheese and a bit of vanilla extract to really enhance the flavor. I often experiment by swapping out the strawberries for other fruits like blueberries or mango, and each time, the cheesecake stays wonderfully creamy with the same delightful texture.
One tip I found helpful is to chill the jars for at least 20 minutes before serving. This allows the flavors to meld beautifully, making every spoonful a decadent experience. Plus, they look gorgeous on a dessert table, catching everyone's eye with their vibrant color and creamy layers!
Why You'll Love These Mini Strawberry Cheesecake Jars
- Decadent cheesecake flavor in every spoonful
- Customizable with your favorite fruits
- No-bake recipe for quick preparation
- Perfect portion sizes for sharing
Mastering the Cheesecake Filling
The cheesecake filling is the star of these Mini Strawberry Cheesecake Jars, and mastering it is key to achieving that luxurious texture. Using softened cream cheese is essential because it blends smoothly without lumps. I recommend letting your cream cheese sit at room temperature for about 30 minutes before mixing, as this will make the blending process much easier and ensure a creamy consistency.
When incorporating the whipped cream into the cream cheese mixture, fold gently rather than whisking vigorously. This technique preserves the airiness of the whipped cream, resulting in a light and fluffy filling. If overmixed, the mixture can become dense; your goal is to achieve a smooth and uniform color without visible streaks of cream.
Layering Techniques for Visual Appeal
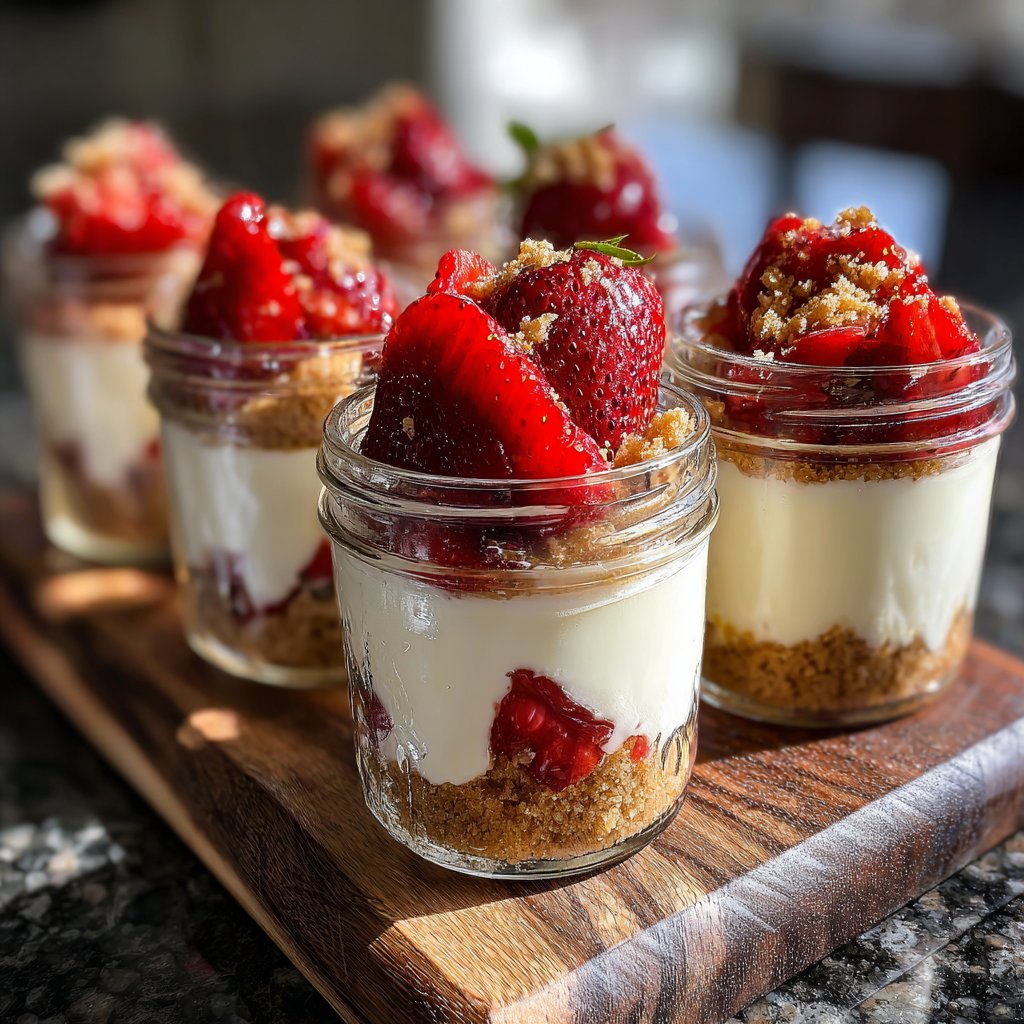
Layering is not just about taste; it's also about presentation! To create beautiful Mini Strawberry Cheesecake Jars, use clear glass jars that show off your colorful layers. I recommend using small mason jars or even cocktail glasses. Start with a thin layer of crushed graham crackers, ensuring an even base, and then carefully spoon the cheesecake filling to avoid displacing the crumbs below.
When adding strawberries, consider arranging them visually along the jar’s sides for an attractive display. This not only enhances the aesthetics but also allows you to enjoy fresh berries in every bite. Remember, the final layer should be strawberries; it’s the first thing your guests will see, making a delightful impression.
Chilling for Perfect Consistency
Chilling the jars is an essential step that allows the flavors to meld beautifully. I suggest refrigerating them for at least 20 minutes, but if you have the time, letting them chill for 1-2 hours will yield even better results. This not only sets the filling but also allows the graham crackers to absorb some moisture while maintaining a slight crunch at the base.
If you plan to make these jars ahead of time, they can be stored in the refrigerator for up to two days. Just be sure to keep the lids tightly sealed to prevent any absorption of odors. For a delightful twist, consider adding a dollop of whipped cream on top just before serving for an extra creamy finish.
Ingredients
Gather these ingredients for a delightful mini dessert.
Ingredients for Mini Strawberry Cheesecake Jars
- 8 oz cream cheese, softened
- 1/2 cup powdered sugar
- 1 tsp vanilla extract
- 1 cup heavy whipping cream
- 1 cup crushed graham crackers
- 2 cups fresh strawberries, hulled and sliced
- 2 tbsp unsalted butter, melted
Ensure all your ingredients are fresh for the best flavor.
Instructions
Let’s get started on making these delicious cheesecake jars!
Prepare the Cheesecake Filling
In a mixing bowl, combine the softened cream cheese, powdered sugar, and vanilla extract. Use a hand mixer to beat until smooth. In a separate bowl, whip the heavy cream until stiff peaks form. Gently fold the whipped cream into the cream cheese mixture until well combined.
Assemble the Jars
In small jars, layer the crushed graham crackers at the bottom. Follow with a generous layer of the cheesecake filling, then a layer of sliced strawberries. Repeat the layers until the jars are filled, ending with a layer of strawberries on top.
Chill and Serve
Cover the jars with lids or plastic wrap and refrigerate for at least 20 minutes. This allows the flavors to meld together. Serve chilled, and enjoy your delightful dessert!
Enjoy your beautifully layered cheesecakes!
Pro Tips
- For a fun twist, consider adding a splash of lemon juice to the cream cheese mixture for a refreshing tartness.
Ingredient Substitutions and Variations
If you're looking to switch things up, consider using mascarpone cheese instead of cream cheese for a more decadent filling. It has a slightly different flavor but offers a rich creaminess that pairs wonderfully with strawberries. For a lighter version, you could use Greek yogurt, adjusting the sugar to taste, as it provides a tangy contrast to the sweetness of the strawberries.
For those with dietary restrictions, dairy-free cream cheese and whipped coconut cream can work as great alternatives. Just ensure that the consistency is thick enough to avoid a runny filling. Additionally, feel free to mix and match toppings; blueberries or raspberries can add vibrant colors and flavors that complement the cheesecake remarkably well.
Troubleshooting Common Issues
If you find your cheesecake filling is too runny, it may be due to under-whipping the heavy cream. Make sure to whip it to stiff peaks, as this is essential for achieving the right texture. If you’ve already mixed it in and it’s too thin, you might consider adding a bit more cream cheese to stabilize it. Just whip it separately first to ensure it blends smoothly.
Another common issue is the graham cracker crust becoming soggy. To avoid this, you can toast the crushed graham crackers lightly in the oven before layering them into the jars. Bake them at 350°F (175°C) for about 5-7 minutes, just until they're fragrant and slightly golden. This extra step will help maintain that desirable crunch even after chilling.
Serving Suggestions
These Mini Strawberry Cheesecake Jars make for an impressive dessert at parties, but they can also be adapted for various occasions. Serve them on a dessert tray with other mini treats, such as fruit tarts or chocolate mousse cups, for a delightful dessert buffet. Their size makes them perfect for picnics or as lunch box treats.
For an interactive touch, place a variety of toppings on the table, such as chocolate shavings, crushed nuts, or coconut flakes, allowing guests to personalize their jars. This engages them and makes the dessert experience even more enjoyable, as each person can create a version that suits their taste.
Questions About Recipes
→ Can I make these cheesecake jars ahead of time?
Absolutely! You can prepare them a day in advance and keep them refrigerated.
→ What can I use instead of strawberries?
You can easily substitute strawberries with blueberries, raspberries, or even chopped mango for a different flavor.
→ How long can these jars be stored in the fridge?
These jars can be stored in the fridge for up to 3 days. Just make sure they are covered tightly.
→ Is it possible to make these jars gluten-free?
Yes! Use gluten-free graham crackers to make them suitable for a gluten-free diet.
Mini Strawberry Cheesecake Jars
Created by: The Chefsamuelbakes Team
Recipe Type: Weekend Baking Recipes
Skill Level: Easy
Final Quantity: 4 servings
What You'll Need
Ingredients for Mini Strawberry Cheesecake Jars
- 8 oz cream cheese, softened
- 1/2 cup powdered sugar
- 1 tsp vanilla extract
- 1 cup heavy whipping cream
- 1 cup crushed graham crackers
- 2 cups fresh strawberries, hulled and sliced
- 2 tbsp unsalted butter, melted
How-To Steps
In a mixing bowl, combine the softened cream cheese, powdered sugar, and vanilla extract. Use a hand mixer to beat until smooth. In a separate bowl, whip the heavy cream until stiff peaks form. Gently fold the whipped cream into the cream cheese mixture until well combined.
In small jars, layer the crushed graham crackers at the bottom. Follow with a generous layer of the cheesecake filling, then a layer of sliced strawberries. Repeat the layers until the jars are filled, ending with a layer of strawberries on top.
Cover the jars with lids or plastic wrap and refrigerate for at least 20 minutes. This allows the flavors to meld together. Serve chilled, and enjoy your delightful dessert!
Extra Tips
- For a fun twist, consider adding a splash of lemon juice to the cream cheese mixture for a refreshing tartness.
Nutritional Breakdown (Per Serving)
- Calories: 220 kcal
- Total Fat: 14g
- Saturated Fat: 8g
- Cholesterol: 40mg
- Sodium: 90mg
- Total Carbohydrates: 22g
- Dietary Fiber: 1g
- Sugars: 12g
- Protein: 3g